Installing electric fence posts isn't complicated, but it's one of those jobs that makes or breaks your fence. Get it right, and your fence will stand tall, carry a good charge, and last for years. Get it wrong, and you'll be forever chasing sagging lines, broken clips, or animals pushing through gaps.
In this guide, we'll walk you step-by-step through installing electric fence posts in the UK, using Gallagher and Hotline posts as examples. We'll also explain the common mistakes to avoid, so you don't waste time or money on repairs.
Step 1: Plan Your Fence Line
Before you touch a post, walk the boundary. Mark out:
- Corners
- Gateways
- Changes in slope or terrain
Corners and gateways are where your fence takes the most strain. Always use Hotline timber strainers or Gallagher steel T-posts at these points for maximum strength.
Tip: Don't rely on lightweight plastic posts at corners. They'll lean within months.
Step 2: Choose the Right Posts
Different posts suit different jobs.
- Gallagher plastic posts → best for runs and dividing paddocks. Strong, UV-stabilised, with reinforced footplates.
- Hotline fibreglass posts → safest option for horse paddocks. Flexible, tall, and long-lasting.
- Hotline wooden posts → ideal for permanent corners, gateways, and strain points.
- Gallagher steel posts → best for rocky or heavy-duty permanent fencing.
Mixing these types gives you strength where you need it and flexibility where you want it.
Step 3: Set Corner and End Posts First
Corners and ends take all the tension. Install these first using:
- Hotline treated timber posts (driven 60–90cm deep, braced if possible).
- Gallagher steel posts where timber isn't practical.
Make sure these posts are perfectly vertical — the rest of your fence depends on it.
Step 4: Mark Spacing for Line Posts
For UK conditions:
- Horses: posts every 3m.
- Cattle: posts every 3–4m.
- Sheep/goats: 4–5m, with multiple strands.
- Poultry: 2–3m for netting systems.
Gallagher plastic posts are ideal for straight runs. Their strong clips hold tape, rope, or wire at the correct height without slipping.
Step 5: Drive in the Posts
- Plastic posts (Gallagher): Push in with your boot on the footplate. Use a mallet only if needed.
- Fibreglass posts (Hotline): Push or lightly tap into the ground — they bend rather than snap.
- Wooden posts (Hotline): Use a post driver or auger. Aim for one-third of the post below ground.
- Steel posts (Gallagher): Drive in with a manual or hydraulic post driver.
Never hammer the tops of plastic or fibreglass posts — that's the fastest way to split them.
Step 6: Attach Conductors
- Use the moulded clips on Gallagher plastic posts for wire, rope, or tape.
- Use specialist clips on Hotline fibreglass posts to secure tape for horses.
- On wooden or steel posts, always use proper insulators (Hotline and Gallagher both supply UV-stabilised versions).
Avoid twisting wire around posts or using cheap insulators — both cause grounding and voltage loss.
If you want to know more then read our complete UK guide to electric fence posts
Step 7: Brace and Gateways
At gateways, use Hotline timber strainers or Gallagher heavy-duty posts to create a strong structure. Fit insulated gate handles so you can pass through safely.
Tip: Don't try to use lightweight plastic posts for gateways. They'll snap within weeks under pressure.
Step 8: Check Alignment and Tension
Stand back and check your line of posts. Conductors should be:
- Straight
- Taut
- Evenly spaced
Sagging usually means posts are too far apart, or corners aren't strong enough. Adjust before you energise.
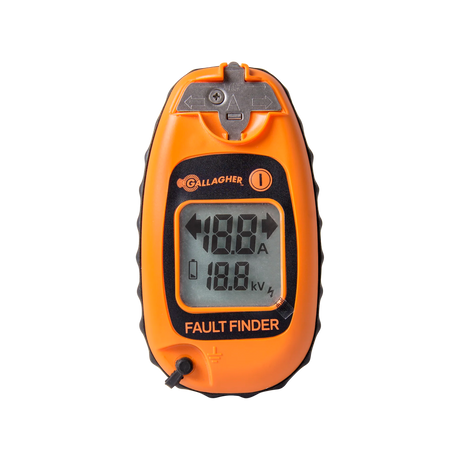
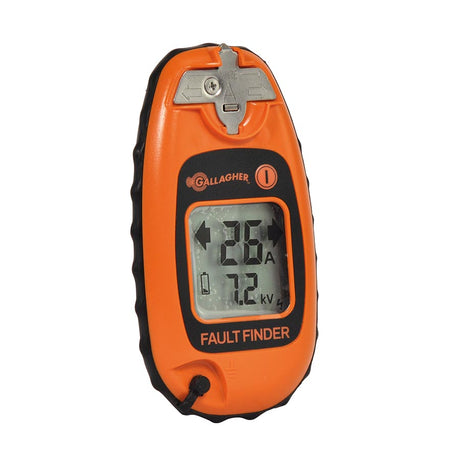
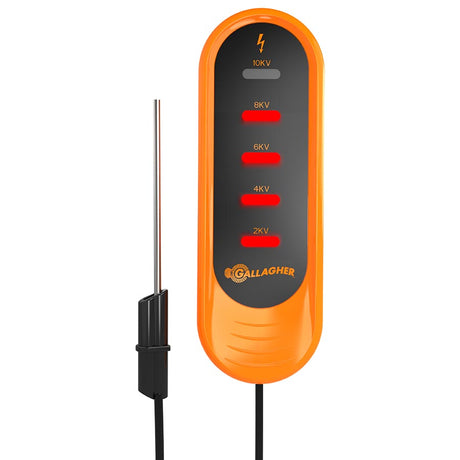
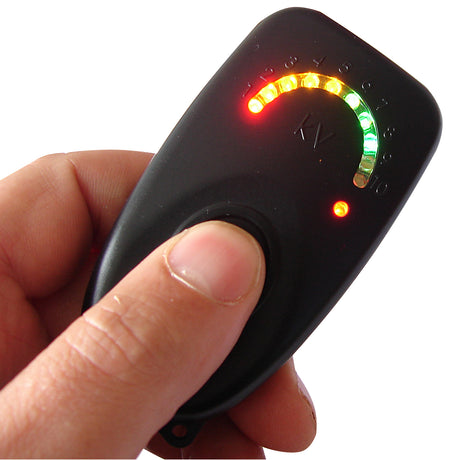
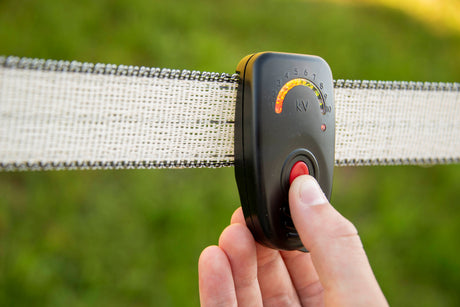
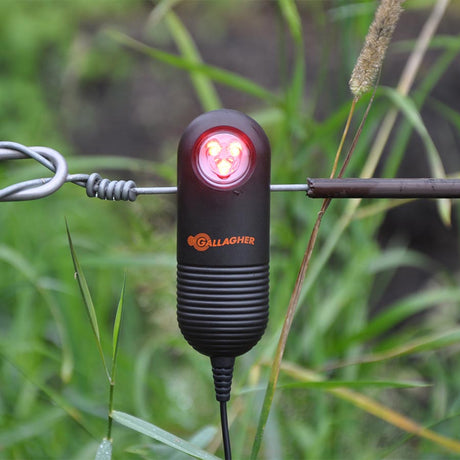
Step 9: Energise and Test
Connect your energiser and test the line with a fence tester. Gallagher makes excellent portable testers that show voltage clearly. Aim for 4,000–6,000 volts for cattle, 3,000–4,000 volts for horses, and at least 2,000 volts for poultry or sheep.
Common Mistakes to Avoid
- Using plastic posts at corners — always use timber or steel.
- Spacing posts too far apart — causes sagging and animals slipping through.
- Hammering plastic posts — splits the shaft and weakens it instantly.
- Buying budget no-name posts — they look cheap, but they'll snap in frost and cost you more in the long run.
Final Word: Use the Right Posts in the Right Place
Installing electric fence posts isn't difficult, but success comes from choosing quality posts and placing them correctly.
- Use Hotline timber or fibreglass posts for horses and permanent corners.
- Use Gallagher plastic posts for strong, reliable runs.
- Mix in Gallagher steel posts where ground is tough or pressure is high.
The result is a fence that stands tall, carries a strong current, and keeps your animals exactly where they should be.